- HOME
- Survival Gear
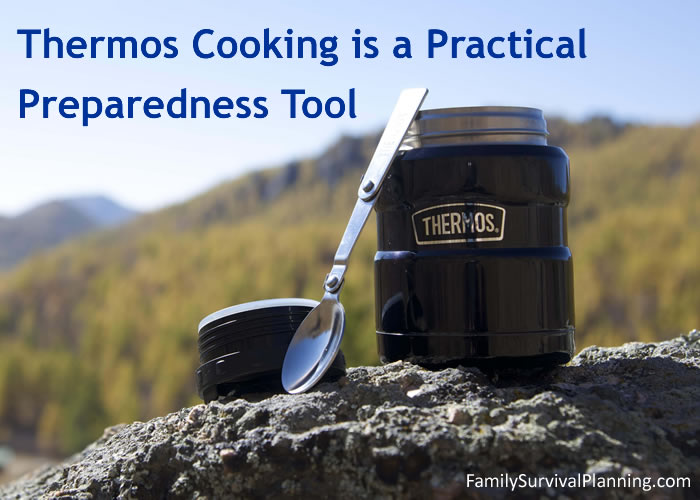
- Thermos Cooking
Thermos Cooking is a
Practical Preparedness Tool
As a child, camping with my grandparents was a primitive experience compared to my camping experiences as an adult. But I'll never forget my grandpa's big thermos, scuffed up a bit from numerous camping trips. That thermos was for coffee - and only coffee.
Today's thermoses, although common, have taken on a variety of uses and come in as many sizes as you can think up to use them. They accompany campers, backpackers, school children, and workers, but for our purposes here, we want to sing the praises of the common thermos bottle or jug as a unique piece of emergency preparedness equipment.
On other pages, we have talked about several methods of cooking a meal in a crisis or an electrical outage. Although you would need one of those methods to heat water for your thermos, the real beauty of the thermos is: time and fuel saving. It's much faster and fuel efficient to heat water to boiling than to heat an entire meal.
Invest in emergency food storage now and enjoy peace of mind for the next 25 years. Don't miss out on the savings!
Cooking in a Thermos saves time and fuel.
The handy thing about using a thermos is the variety of foods you can cook (or keep cold).
You have seen all the recipes for easy oatmeal breakfasts, with fruit, seeds, and other additions. Put all ingredients in a thermos and pop into the refrigerator overnight and breakfast is ready in the morning. Grab and go!
But there's a whole other world of cooking and reconstituting where a thermos is useful.
Take dehydrated or freeze-dried foods for instance. Both are usually small pieces of hard dried food. You can save lots of time by just heating the water and reconstituting the food in a thermos as opposed to heating the food on a stove. It takes time to heat the water, add the food, stir, wait, stir, wait. There's not time for that in an emergency situation.
Dehydrated foods normally need to be heated and stirred for 20 minutes or so to fully reconstitute them. With a thermos, just heat water to boiling or almost boiling and pour it into a thermos with the food, cap it and go for a hike for about an hour. Should be ready when you return. The results will be a nice hot meal using very little fuel and water. (Eliminates water evaporation also, unlike cooking in an open pot on the stove.)

TIP: Choose a thermos with a wide mouth so it’s easier to get food in and out again.
Leave room for expansion.
Because dehydrated foods, whole grains, and beans expand to two or three times their original size after soaking or reconstitution, be sure and leave room for expansion.
Knowing the capacity of your thermos and reading the reconstitution instructions on a package of dehydrated or freeze-dried food will help you know how much water and how much food you particular thermos can hold.
Grains generally need 2/3 water and 1/2 food to reconstitute fully.
Some types of beans, however, can increase in volume 3 or 4 times, so use fewer beans until you're familiar with how much they will expand.
How much water?
It's better to have too much water than not enough. Too little water can give you "wet" food, but is it edible? Not usually.
Too much water is not a problem. The food will absorb what it needs and you can drain the rest. You may even be able to use the excess water by pouring it into soup or save for the next time you make a broth or stock.
Can you have too many thermoses?
Never.
Having several thermoses at your disposal is very efficient, especially if preparing a meal for a group or larger family. And since they come in sizes anywhere from a one-cup lunch box size up to two-gallon jugs, why not buy several. So convenient!
Picture this: You're camping and you want dinner in a hour or so. Place soup in one thermos, a vegetable side dish in another, hot chocolate in another. Relax around the campfire. Take a nap. Go for a hike. Dinner will prepare itself.
I strongly recommend choosing ones that have wide mouths. Ever tried to scoop food out of a small-mouth thermos? It's not easy and it's messy.
Camping Tip for Thermoses
Here's a bonus idea for using your thermos and picnic jugs in emergency cooking situations: Heat as large a container of water as possible while your emergency stove is in use. Fill as many thermoses as you have with hot water. Put the lids on tightly and set them aside. You will then have hot water for hot drinks throughout the day or evening without using additional fuel.
Let's Get Creative With Your Thermos
Thermos food preparation can be used to prepare an entire meal — breakfast, lunch, or dinner.
Cold Foods — Make a fruit salad, chicken salad, or vegetable salad for lunch the night before. Refrigerate overnight and your lunch will still be cold by lunch the next day.
Cold Breakfast — Fill a small thermos with cold milk. Take your favorite cereal in a baggie. When you are ready to eat breakfast the next morning (maybe saving time or money on a trip), pour the cereal into the thermos and enjoy. Don't forget a spoon!

Hot Breakfast — Fill a small thermos with hot water and take your favorite flavored oatmeal in a baggie. Pour into the hot water for your morning breakfast away from home.
Dinner — Try this recipe for thermos soup. It's delicious, easy to prepare, and, if started in the morning, it's ready to eat for dinner. A little fuel is required to heat the water initially.
Thermos Soup
- 1-1 1/2 cups grain: any kind, any combination (try basmati rice, cracked wheat, sweet brown rice and barley, or split peas, lentils and long grain rice)
- 1/4-1/2 Cup dehydrated onions
- 1/4 cup bacon bits from a jar (real or imitation)
- 1/4 cup dehydrated celery
- 1/4 teaspoon each marjoram and thyme
- 2-3 bay leaves
- 1 tablespoon chicken soup base (or 3-4 bouillon cubes)
- salt and pepper to taste
Place all ingredients in a gallon-sized thermos. Pour very hot—but not boiling—water over the ingredients to fill the jug three-fourths full (approximately eight cups). Cap tightly and shake gently. Let it sit for eight hours or so.
Prepare in a separate thermos (as these items will be ready in about 1/2 hour) and add to the other thermos the last half hour:
- 1/4 cup dehydrated carrots
- 1/4 cup dehydrated green beans
- 1/2 cup dehydrated diced potatoes
- 1/2-3/4 cup pasta
Enjoy!
You might like these:
Benefits of Using Two Way Radios During a SHTF-Type Disaster
Why do you need a two way radio when you have a cellphone? Did you know cell networks and landlines could be useless in a SHTF-type situation? That's why.
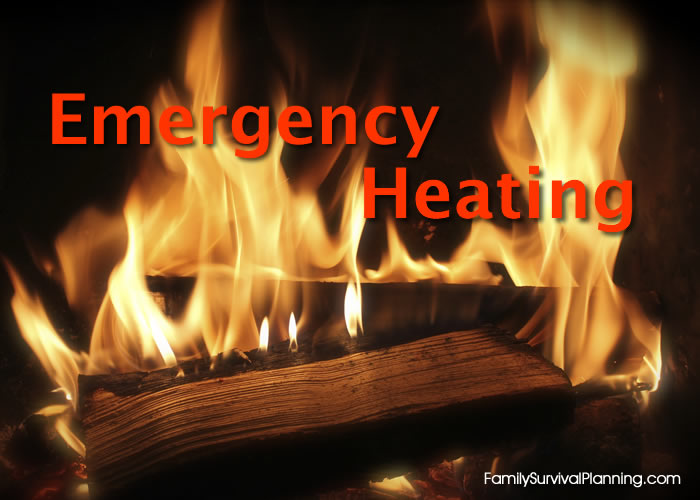
How To Keep Warm in a Power Outage
Emergency Heating - How to keep the family warm when there is a power outage: space heaters, blankets, survival sleeping bags and ponchos.
Test Your Survival Gear - Go Camping!
You're Not Prepared if Your Survival Gear is Still in Boxes


 Valley Food Storage


As an Amazon Associate, Family Survival Planning earns a small commission from qualifying purchases.
FTC DISCLOSURE
If you make a purchase via a link on this site,
I may receive a small commission on the
transaction, at no added cost to you.
Copyright ©2007 - 2024 FamilySurvivalPlanning.com. All rights reserved.